Free Invoice Generator - Create Professional Invoices Online
Create professional invoices in minutes with our free online invoice generator. Choose from beautiful templates, add your business details, and download as PDF instantly. Perfect for freelancers, contractors, and small businesses.
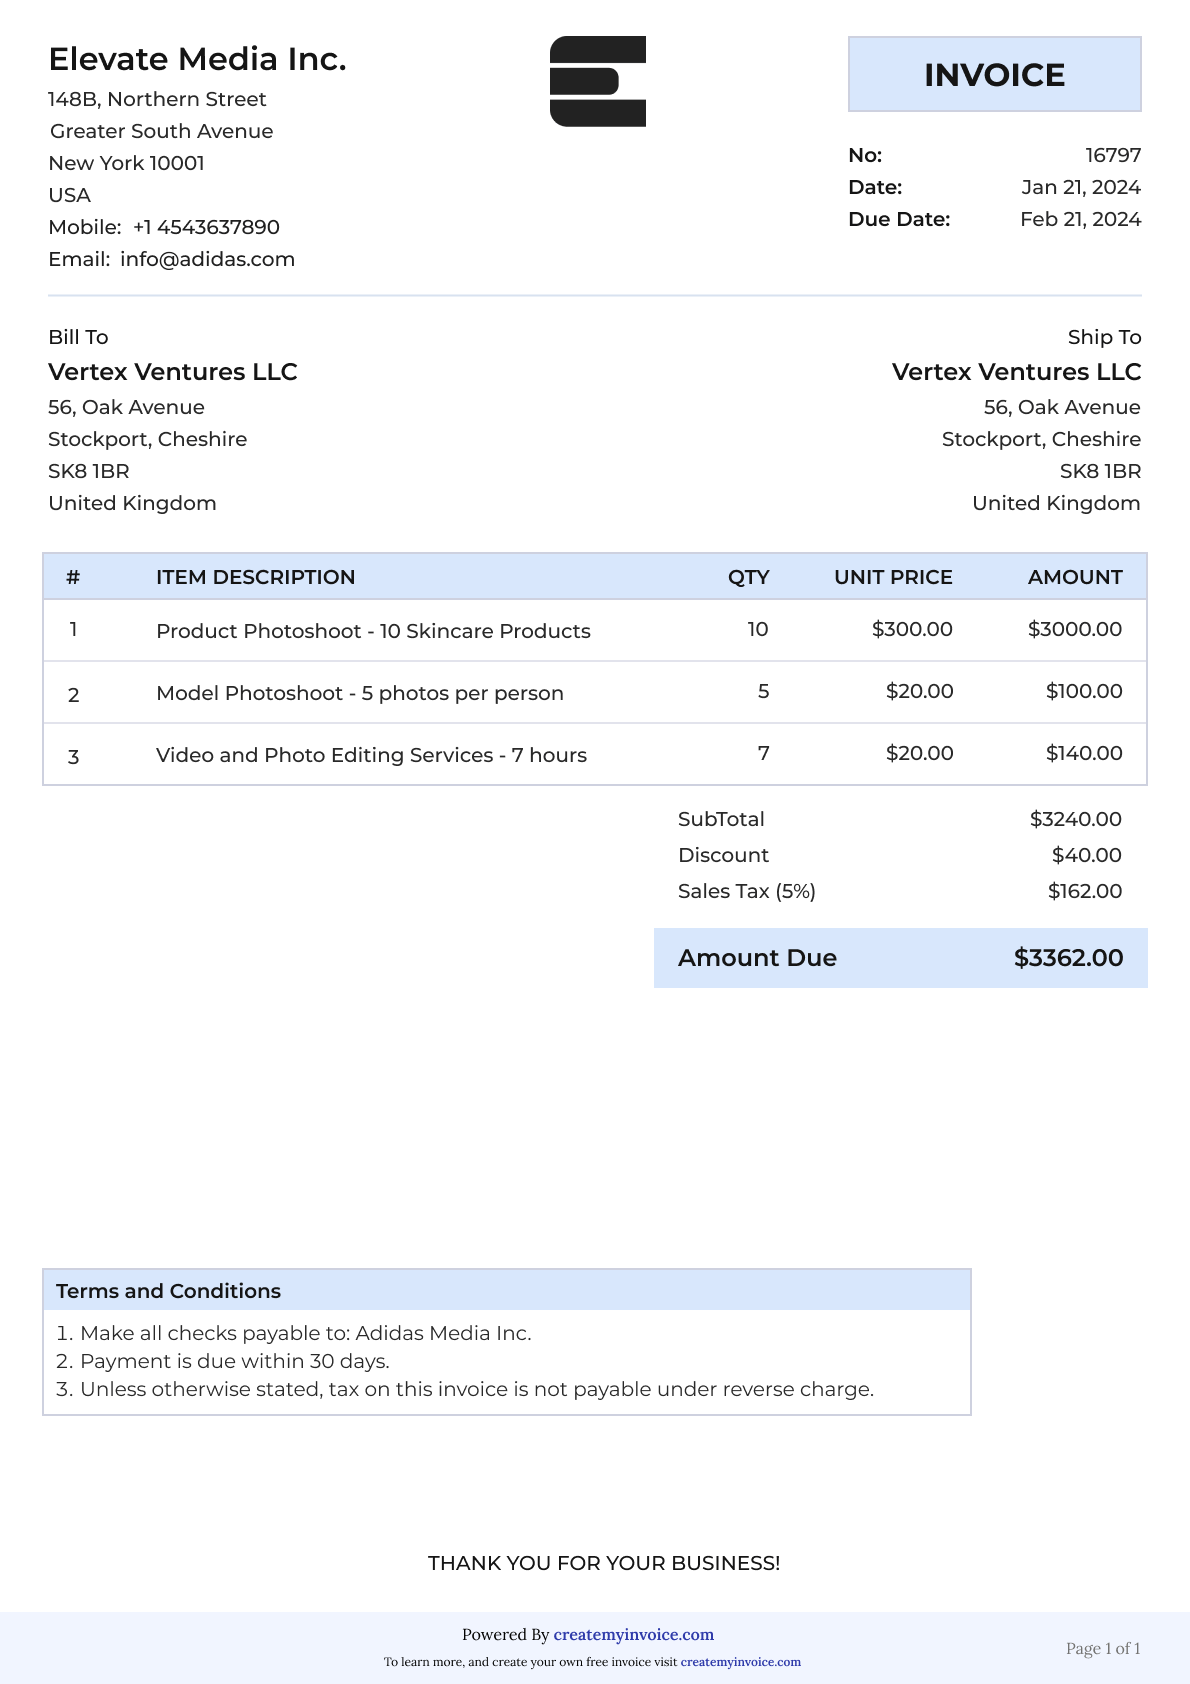
Our invoice maker in action
Create Your Free Professional Invoice in Minutes!
Try our free invoice maker and generate stunning, professional invoices effortlessly. Simply enter your details, select a template and download your invoice in PDF Format - ready to send to clients. Whether you're a freelancer or a business owner, our invoice generator makes billing fast, simple, and hassle-free.
Basic Details
Invoice Number *
Invoice Date *
PO Number
Invoice Due Date *
Seller
Company/Seller Name *
Address *
Phone
Website
Client
Company/Client Name *
Address *
Phone
Website
Is your shipping address different from billing address?
Description * | Quantity | Unit Price | Amount |
|---|
Sub Total:
$ 0.00
Discount:
$ 0.00
Tax:
$ 0.00
Shipping:
$ 0.00
TOTAL AMOUNT:
$ 0.00
Terms and Conditions
Invoice Settings
Currency
USD - United States dollar
Discount
Tax
Shipping

Basic Details
Invoice Number *
Invoice Date *
PO Number
Invoice Due Date *
Currency
USD - United States dollar
Seller *
Client *
Line items
Summary
Sub Total
$ 0.00
Discount
$ 0.00
Tax
$ 0.00
Shipping
$ 0.00
TOTAL AMOUNT
$ 0.00
Terms and Conditions
Take Control of Your Invoicing
Create a free account to save your invoices, store client information, and access your invoice history anytime.
How to Create an Invoice
Creating a professional invoice is simple with our free invoice generator. Just follow these steps to create your first invoice in minutes.
Enter your business information
Add your company name, address, phone number, and email address in the seller section. This identifies you as the service provider and tells your client how to contact you. Upload your business logo to make your invoice look professional and reinforce your brand.
Add client details
Enter your client's company name or individual name, billing address, and contact information. This ensures you have a complete record of who you're invoicing. If you create an account, our invoice generator saves this information automatically so you can reuse it for future invoices.
Add invoice number, date & due date
Every invoice needs a unique invoice number for tracking. Use sequential numbering like INV-001, INV-002, or date-based systems like 2025-001. Add the invoice date (when you're issuing it) and the due date (when payment is expected). Common payment terms are Net 15, Net 30, or Net 60 days.
List your products or services
Add line items for each product or service you're billing for. Include a clear description of the work completed, quantity or hours worked, and the rate or price per unit. Our invoice generator automatically calculates the line total by multiplying quantity by price.
Add taxes, discounts, and shipping
If applicable, add your tax rate and the generator will calculate tax amounts automatically. You can also add discounts (as a percentage or fixed amount) and shipping charges. The invoice generator calculates your final total automatically, no manual calculations needed.
Choose your invoice template
Select from our collection of professional invoice templates. Preview your invoice before downloading to make sure everything looks correct. All templates are designed to be clear, professional, and easy for clients to read.
Download and send your invoice
Download your invoice as a PDF file to email to your client, print for physical delivery. Keep a copy with you as well for your business records.
What to Include in an Invoice
A professional invoice should include these essential elements to ensure you get paid on time and maintain accurate records.
1. Invoice header
Make the word "Invoice" clear and prominent at the top of the document. This immediately identifies the document type for your client.
2. Your business information
Include your company name, business address, phone number, email address, and website. If you have a business logo, add it to reinforce your brand. Include your tax ID or business registration number if applicable.
3. Client information
Add your client's name or company name, billing address, and contact details. This ensures the invoice reaches the right person and provides a record of who owes you money.
4. Invoice number
Assign a unique identification number to each invoice. This helps both you and your client reference the transaction in the future. Never reuse invoice numbers—each one should be unique.
5. Invoice date and due date
State the date you're issuing the invoice and when payment is due. Be specific with the due date—write the actual date rather than just "Net 30" so there's no confusion about when payment is expected.
6. Purchase order number
If your client provided a purchase order number, include it on the invoice. Many companies require this for payment processing.
7. Detailed line items
List each product or service separately with a clear description, quantity or hours, rate or price per unit, and the total for that line item. Be specific in your descriptions—instead of "Consulting Services," write "Website Redesign Consultation - 5 hours."
8. Subtotal
Show the total amount before taxes, fees, and discounts. This is the sum of all your line items.
9. Taxes, fees, and discounts
List any applicable sales tax, VAT, shipping fees, or discounts separately. Show the tax rate or discount percentage along with the calculated amount.
10. Total amount due
Display the final amount the client owes you clearly and prominently. This is your subtotal plus taxes and fees, minus any discounts.
11. Payment terms
Specify when payment is due (Net 15, Net 30, Due on Receipt, etc.) and list accepted payment methods. Include specific payment instructions like bank account numbers for transfers or mailing address for checks.
12. Notes
Use this optional section to add thank you messages, payment reminders, or other relevant information about the transaction.
Invoice Numbering Systems
Proper invoice numbering helps you stay organized, track payments, and makes accounting easier. Choose a numbering system and use it consistently for all your invoices.
Sequential numbering
The simplest method where each invoice gets the next number in sequence: INV-001, INV-002, INV-003. This works well for small businesses and makes it easy to track how many invoices you've issued. The downside is it doesn't include date information and clients can see your invoice volume.
Date-based numbering
Include the year or full date in your invoice numbers: 2025-001, 2025-002 or 20250115-001. This makes it easy to see when invoices were issued and helps with year-end accounting. Numbers are longer but more informative.
Client-based numbering
Include a client code in the invoice number: CLIENT-ABC-001 or ACME-2025-001. This helps you quickly identify which client the invoice is for and makes it easier to track revenue per client. Best for service businesses with recurring clients.
Project-based numbering
Include project codes for project-based billing: PROJ-WEBSITE-001 or 2025-WEBSITE-001. This helps track all invoices for specific projects and is useful for progress billing. Best for contractors, agencies, and project-based businesses.
What to avoid
Don't skip numbers—this creates gaps in your records and looks unprofessional. Don't reuse invoice numbers as this causes confusion and accounting problems. Don't use random numbers as this makes tracking impossible. Don't change your numbering system mid-year—stick with one system for consistency.
How to Send an Invoice
Once you create your invoice, you have several options to send it to your client. Choose the method that works best for your business and your client's preferences.
Email as PDF attachment
Download your invoice as a PDF and attach it to an email. This is the most common and professional method. PDFs look the same on any device, are easy to save and print, and work with any email system. Use a clear subject line like "Invoice #001 from [Your Company]" and include payment instructions in your email message.
Share via link
Generate a shareable link that clients can access from any device. The link lets clients view and download the invoice without needing to receive a file attachment. This works well for mobile-first clients and makes it easy to resend if needed.
Send directly through software
If you have an account with us, you can send invoices directly through the platform. This automatically tracks when the invoice is viewed, lets you set up payment reminders, and keeps everything organized in one place.
Print and mail
For clients who prefer paper invoices, download and print a physical copy to mail. Some clients require paper invoices for their accounting processes. Keep a digital copy for your records and consider sending via certified mail for important invoices.
Invoice Payment Terms
Payment terms tell your client when payment is due and how they should pay. Clear payment terms help you get paid faster and avoid confusion.
Common payment terms
Net 15, Net 30, Net 60
Payment is due 15, 30, or 60 days after the invoice date. Net 30 is the most common. These terms give clients time to process payments through their accounting systems.
Due on Receipt
Payment is expected immediately upon receiving the invoice. Common for small purchases, one-time services, or new clients.
Net 15 EOM
Payment is due 15 days after the end of the month in which the invoice was issued.
50% Upfront, 50% on Completion
Common for large projects. Request partial payment before starting work and the remainder when finished.
Progress Payments
For long-term projects, invoice based on milestones like 25% at start, 25% at design approval, 25% at development, 25% at completion.
How to choose payment terms
Consider your industry standards—what do others in your field typically use? Think about your client relationship—new clients might require shorter terms while established clients might get longer terms. Consider your cash flow needs—if you need cash quickly, use shorter payment terms. Factor in project size—larger projects often warrant longer payment terms or progress payments.
Late payment fees
If you charge late fees, specify them clearly on your invoice. State when late fees start (like "2% per month after due date"), how they're calculated, and any maximum late fee amount. Be reasonable with late fees—they're meant to encourage timely payment, not punish clients.
Ready to Create Professional Invoices?
Join 5,000+ small businesses who trust CreateMyInvoice to handle their invoicing. Create your first invoice in minutes.